Introduction to Citrix AppDNA
One of the largest concerns that businesses searching at desktop virtualization must face is whether or not application packages will function effectively inside the new virtualized environment. Traditional awareness dictates performing rigorous manual utility testing, but granular software checking out isn’t always realistic. Your enterprise may have such a lot of applications that it’s far almost impossible to check all of them. Even if you have a workable number of apps, it’s far unrealistic to check every feature of every application. There are numerous tools available to help you compile applications and affirm compatibility with diverse operating systems. Microsoft Application Compatibility Manager and Citrix AppDNA is few among them. Citrix AppDNA is an application testing and management technology that detects and repairs compatibility problems that might prevent applications from migrating to a virtual desktop operating system easily..
AppDNA works through examining the application’s installer file. Apart from examining the application installer file, Citrix AppDNA also learn about the application dependencies usually without installing the application. In addition to testing and reporting, Citrix AppDNA can also do application remediation if needed. Citrix AppDNA provides a link to perform a automatic fix for an application but if in case remediation cannot happened automatically, there may be manual processes required to be performed for the fix. AppDNA is probably best suited for large organizations that can quickly evaluate and re-mediate large numbers of applications.
Deploying Citrix AppDNA
Before deploying Citrix AppDNA in your production environment make sure you meet system requirements for Citrix AppDNA. If you are deploying Citrix AppDNA server behind firewall you need to have required network ports to be opened. In my lab I am using Windows 2012 R2 with SQL Server 2012 installed on it.
AppDNA server should have the following:
- 12 GB of RAM
- 80 GB free disk space for up to 200 applications. 150 GB if more applications.
- Cannot be installed on a Delivery Controller. Must be a separate machine
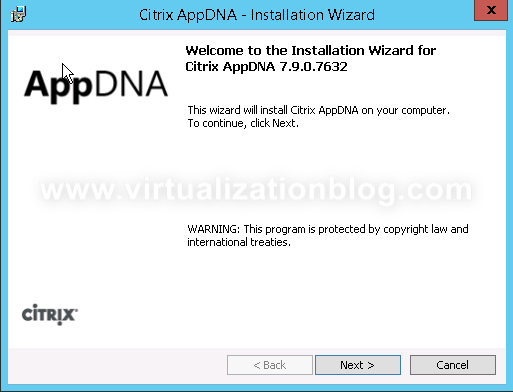
Logon to the server with administrative rights and start the installation. Click Next to proceed
Accept the License agreement and click on Next
As this is the first Citrix AppDNA server we are installing, choose Complete and click on Next.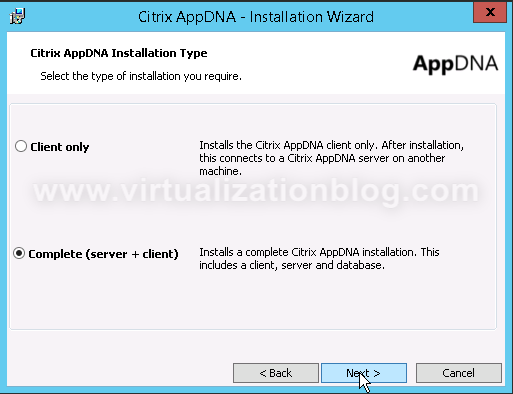
Change the installation location in case required and click Next.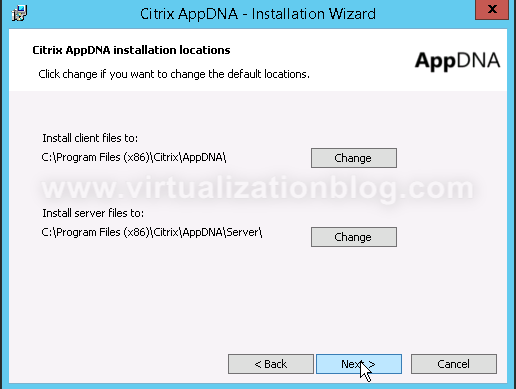
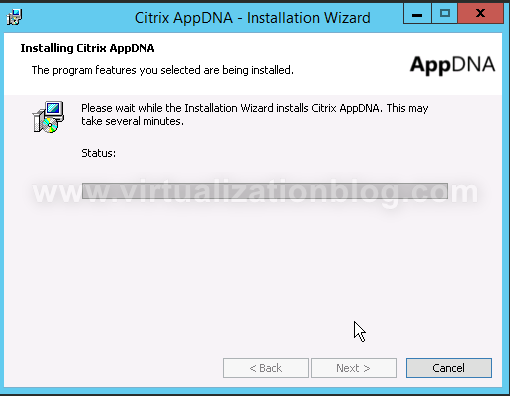
Click Finish to start the installation.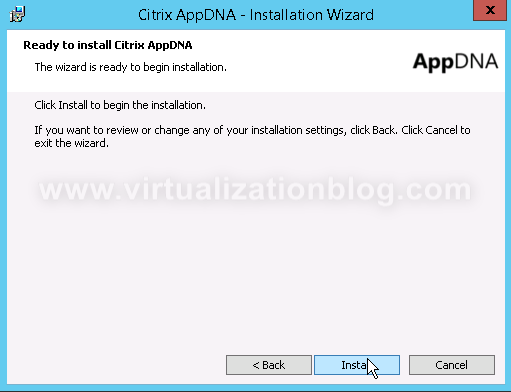
 Once installed AppDNA server need to be configured. Keep “Launch the configuration wizard to configure this new installation” selected and Click on Finish.
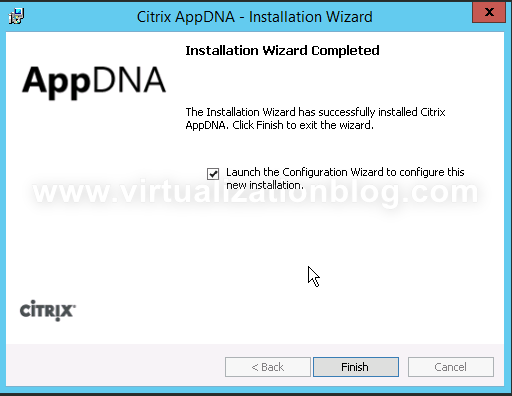
Configuration Wizard with perform a prerequisites check. Click Enable if required features are not enabled.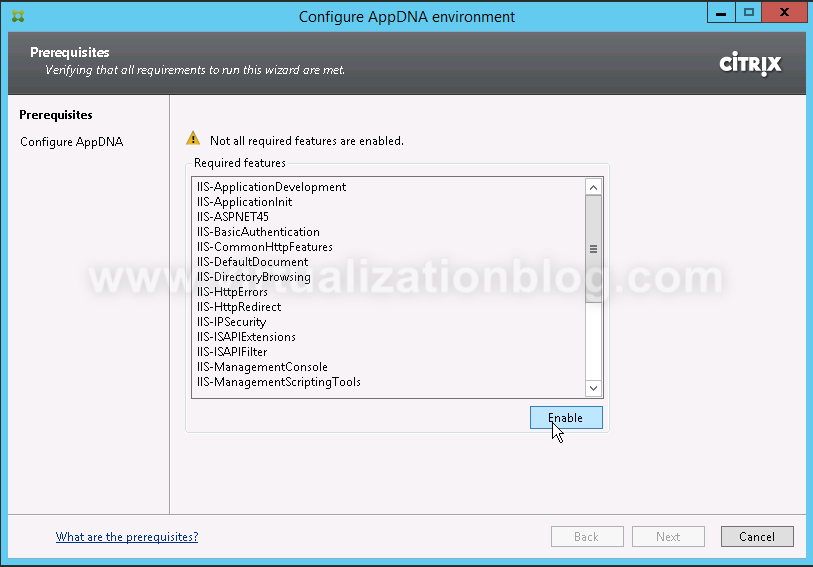
As this is a new installation. Select Configure new installation and click on Next.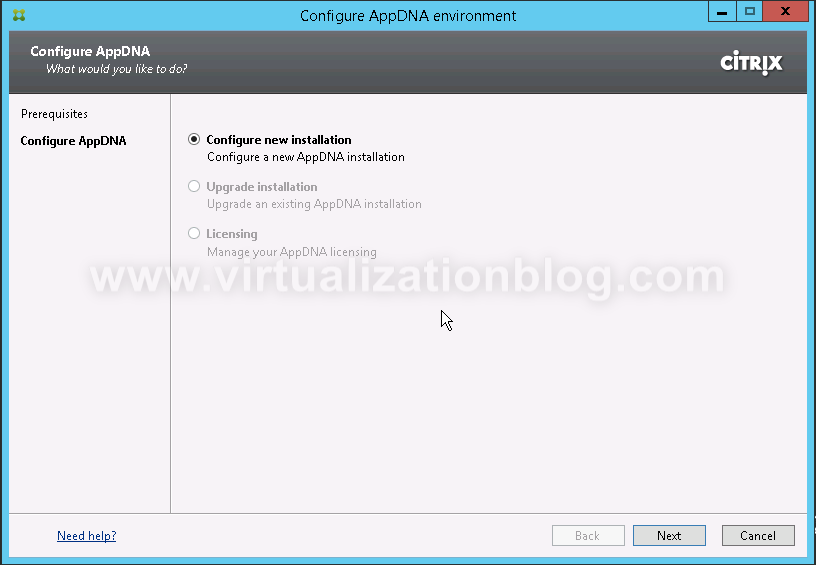
Provide in the server name where Microsoft SQL Server is installed and provide the Database Name. Select Windows authentication and click on Next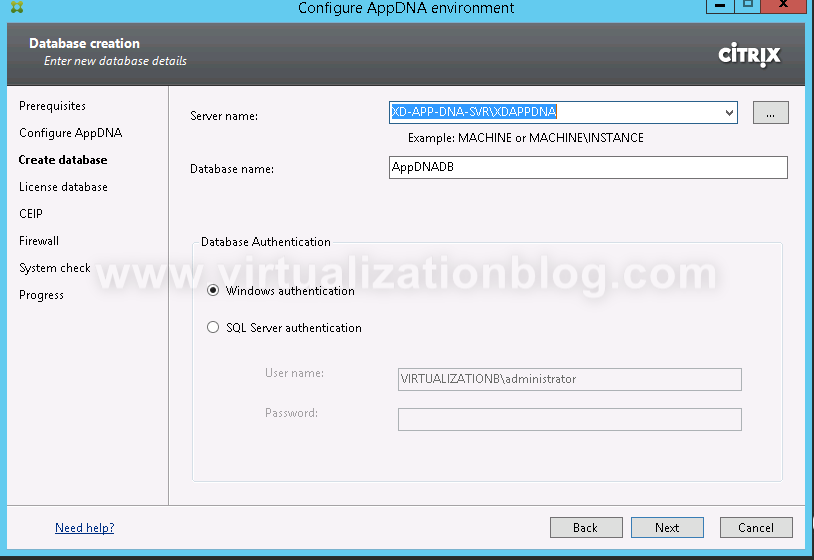 Select Use the built-in IIS application pool identity and click Next.
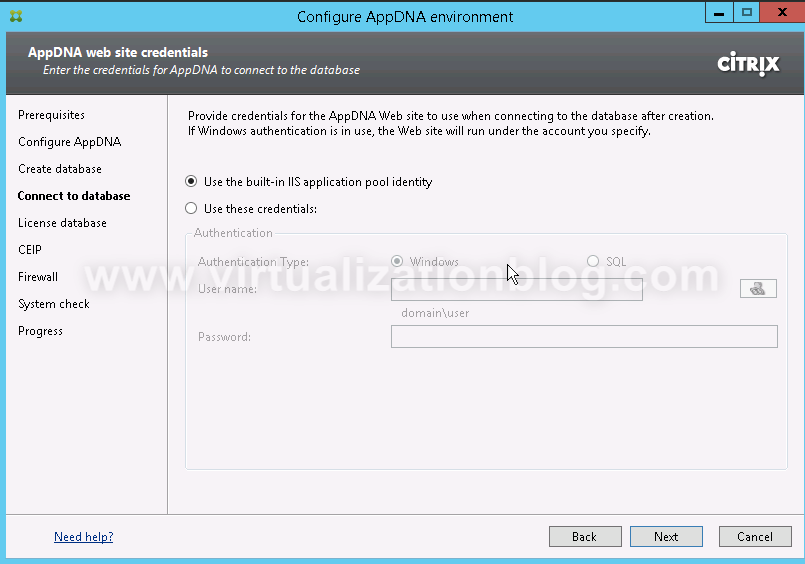
Provide the License database. In lab I am choosing Run in trial mode. Click Next to proceed further.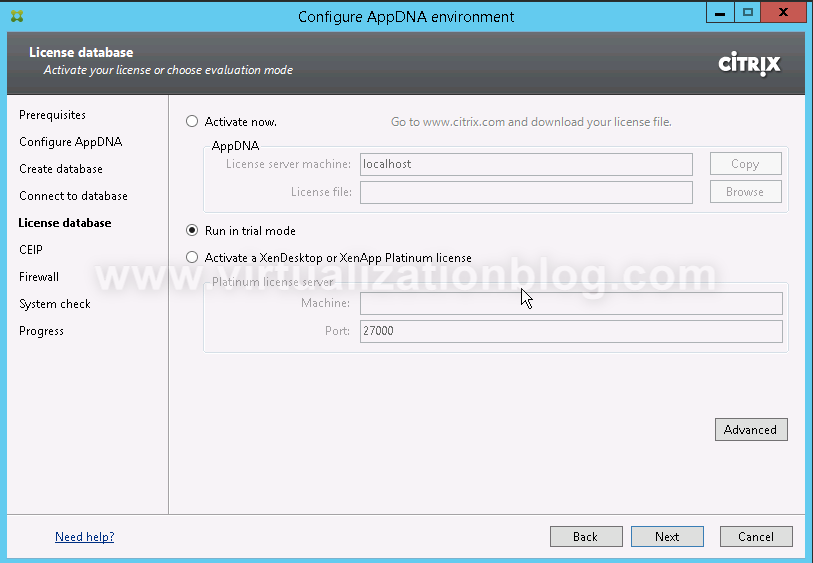
Choose appropriate option and click on Next.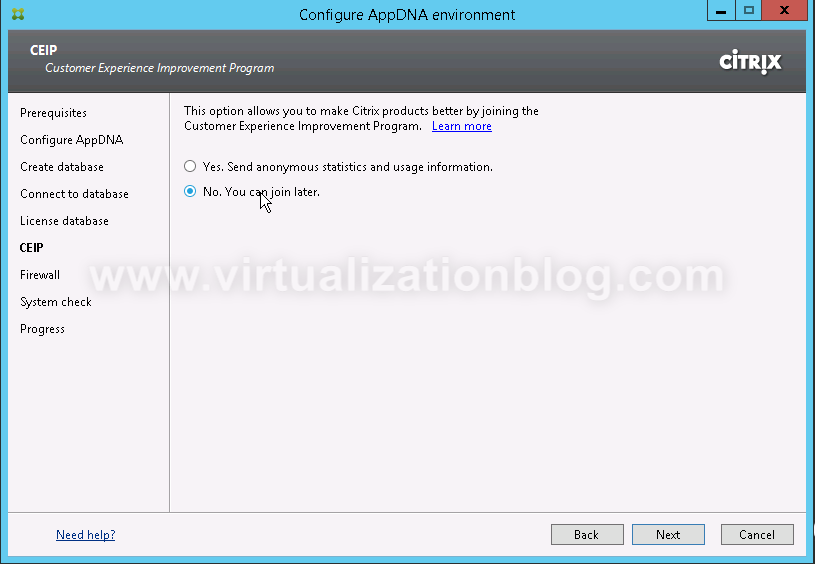
If you have Windows Firewall enabled on the server open the mentioned port numbers and click Next.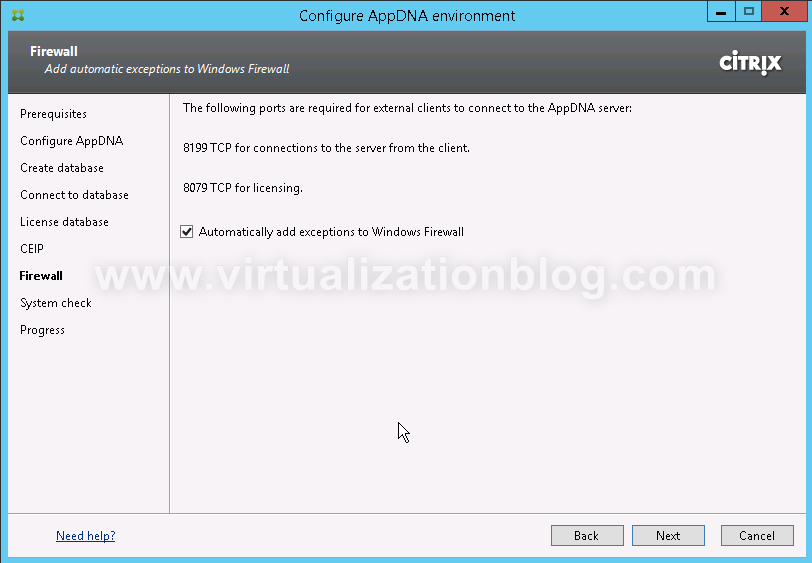
Click on Configure on the System Check page.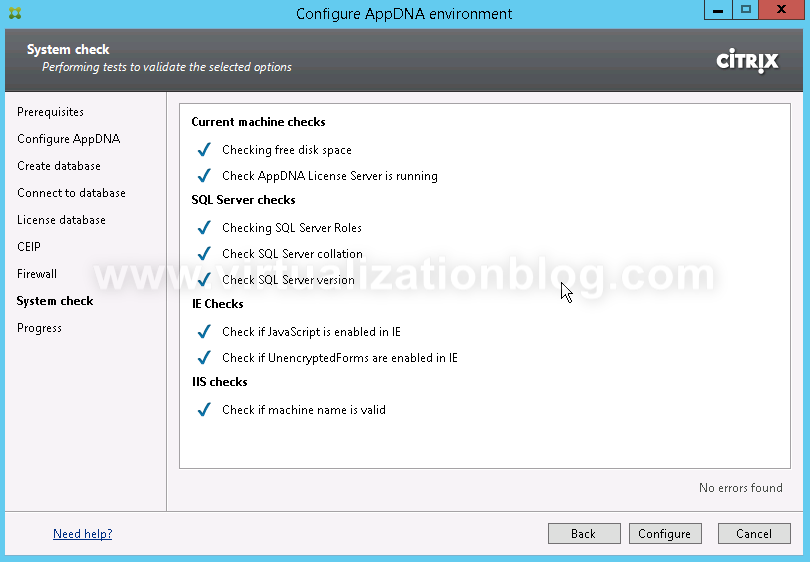
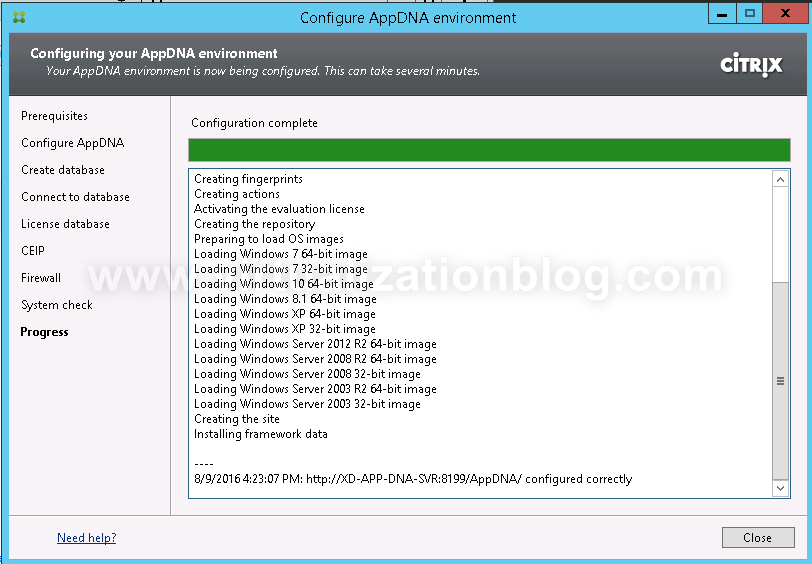
The configuration process will take time. Wait till the time configuration process completes. 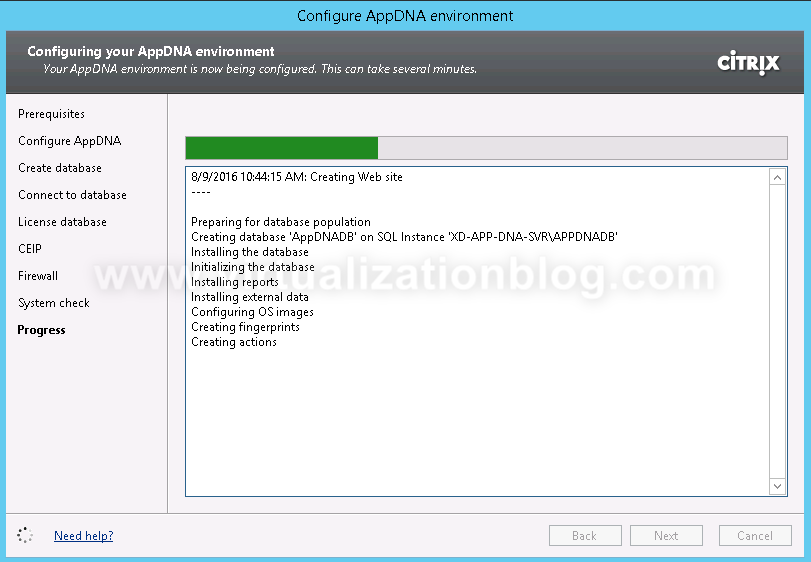

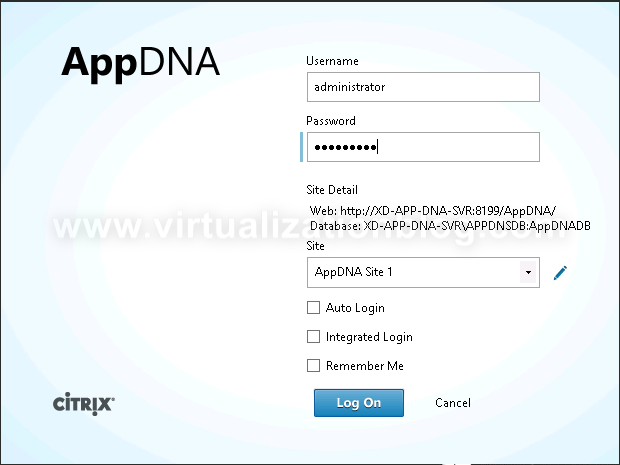
Launch the click from the start menu. Use below credentials and click on Login.
- Username : administrator
- Password : apps3cur3
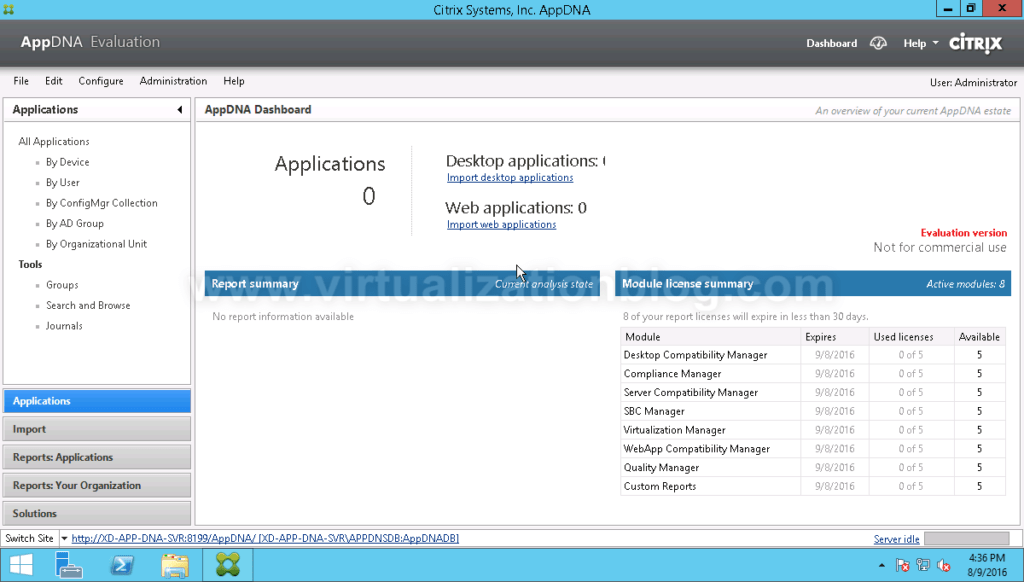
This completes the installation of Citrix AppDNA server. In this post we covered Introductions to Citrix AppDNA and the required steps to install AppDNA server. Thanks for Reading!!. Be social and share it in social media, if you feel worth sharing it. Happy Learning 🙂