Introduction
In one of my earlier post, I covered the advantages, limitations and how Instant clones are different form VMware View Composer. In this post I will be covering the steps to create an Instant Cloned Pool. Instant clone desktop pool is an automated desktop pool created using the vmFork technology. vCenter Server deploy the desktop VMs based on the settings configured at the time of pool creation. Addition to sharing the virtual disk of a parent virtual machine, instant clones share the memory of a parent virtual machine.
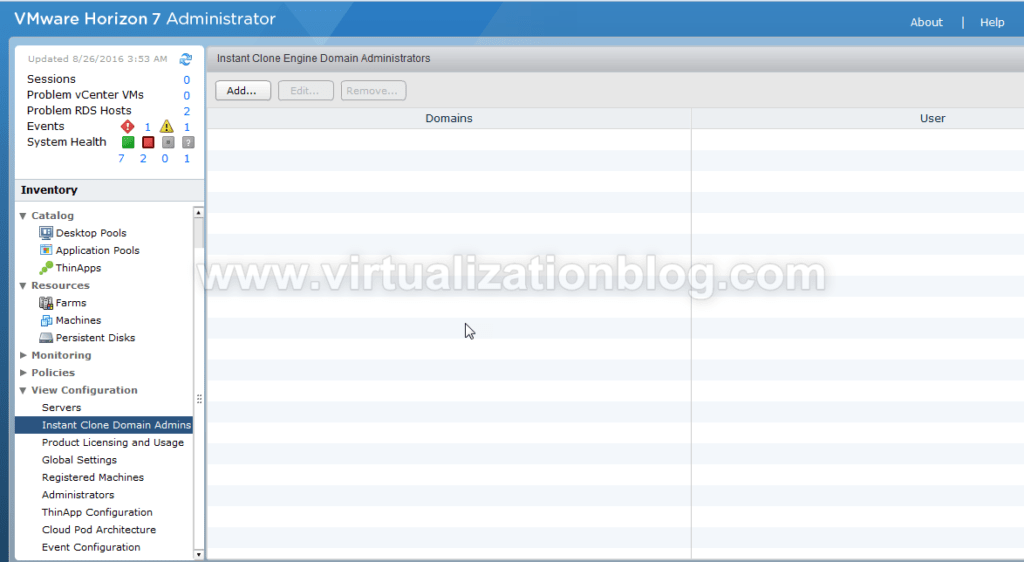
Instant Clone Engine Domain Administrator
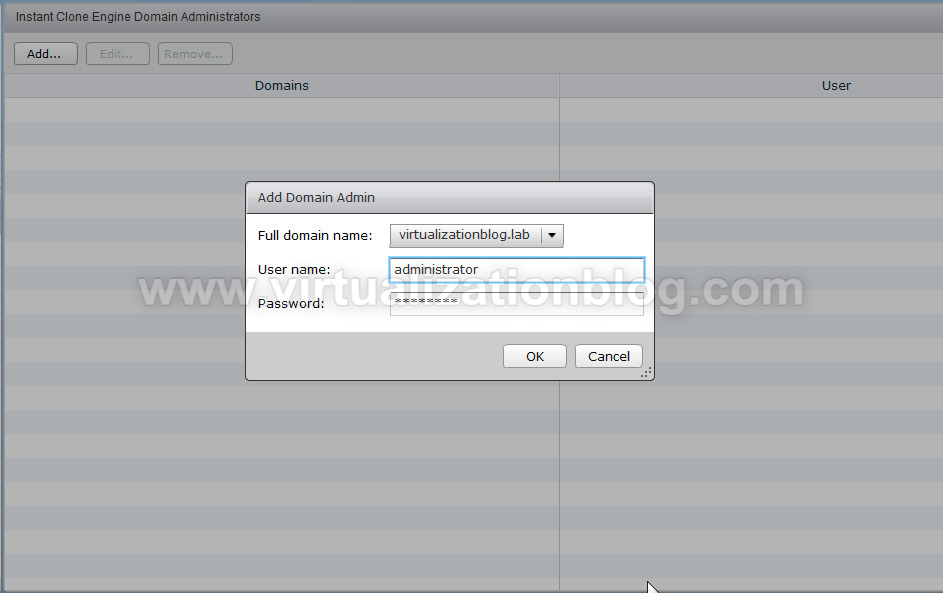
Instant Clone Engine Domain Administrator is required to be configured which handles the Active Directory needs for the cloned desktops. You can configure Instant Clone Administrator using View Administrator Pool.
Apart from the default permission below permission is required for the user account in Active Directory.
- List Contents
- Read All Properties
- Write All Properties
- Read Permissions
- Reset Password
- Create Computer Objects
- Delete Computer Objects
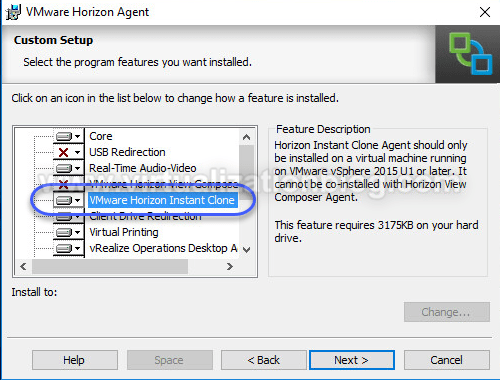
 VMware Horizon Agent Configuration in Parent Virtual Machine.
Partent Virtual machine should have VMware Horizon Instant Clone component installed. You can either have VMware Horizon VIew Composer or VMware Horizon Instant Clone component at the time of VMware Horizon Agent installation in Parent Virtual Machine.
Steps by Step : Creating an Instant Clone Pool
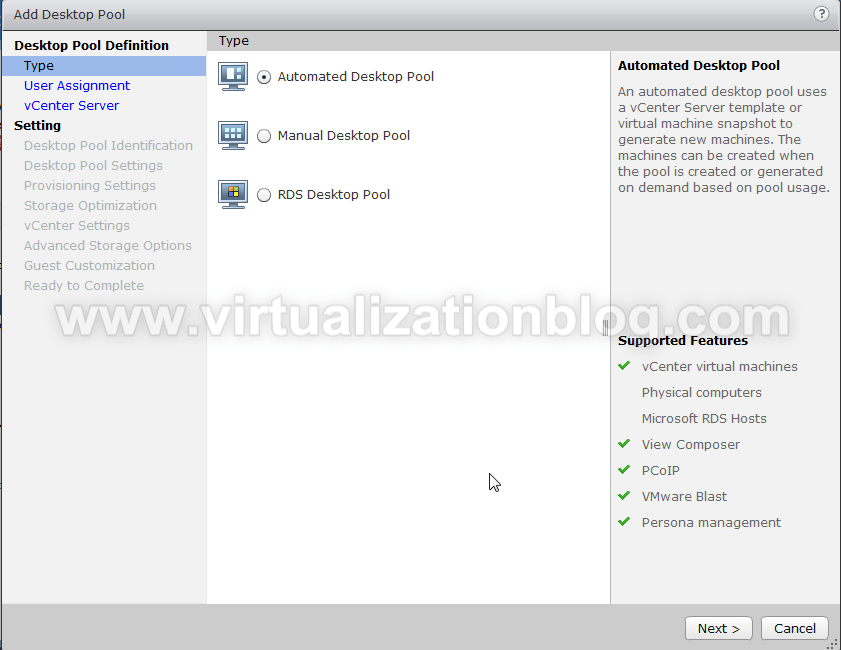
Login to VMware Horizon Admin console. Go to Catalog –> Pools. Click on Add to add new Poo. Choose Automated Desktop Pool.
Instant Cloned support only Non – Persistent desktop as desktop gets refreshed automatically every time user logged out. Choose User assignment as Floating and click on Next.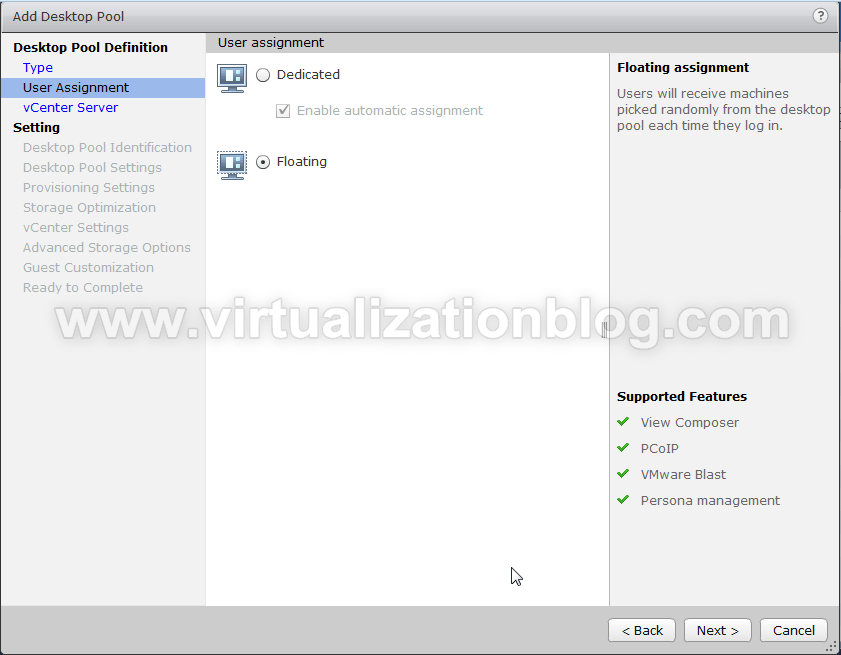
Choose Instant Clones and select the listed vCenter Server. Click Next to proceed.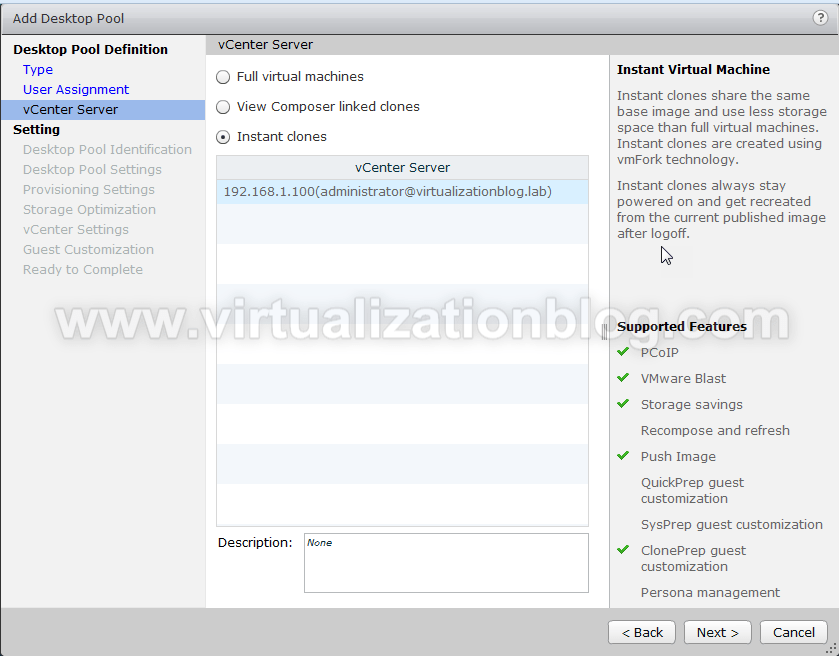
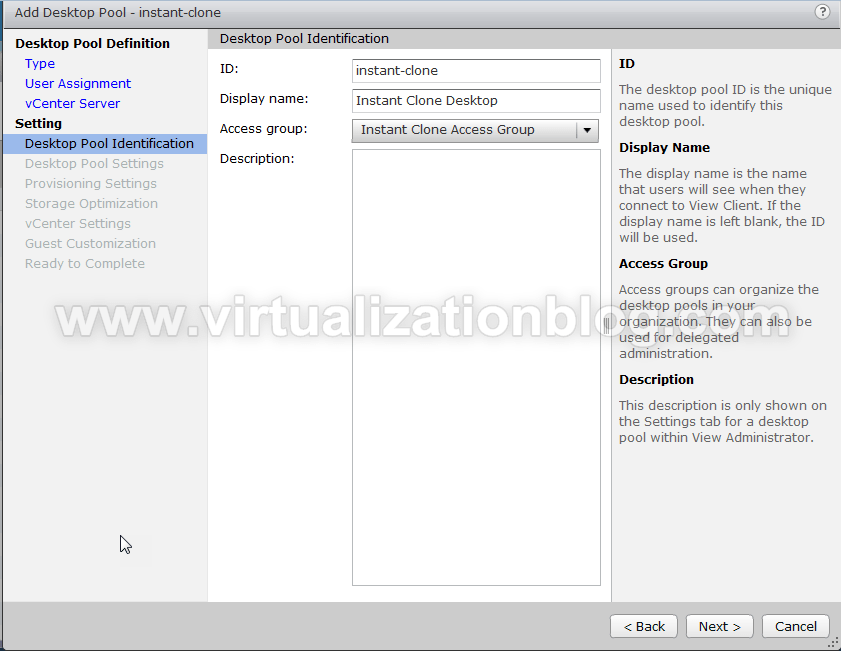
Provide the appropriate ID and the Display Name for Desktop Pool identification. Configure the Access Group in case needed. Click Next to proceed.
Configure the Desktop Pool Settings as per organization policies and click Next.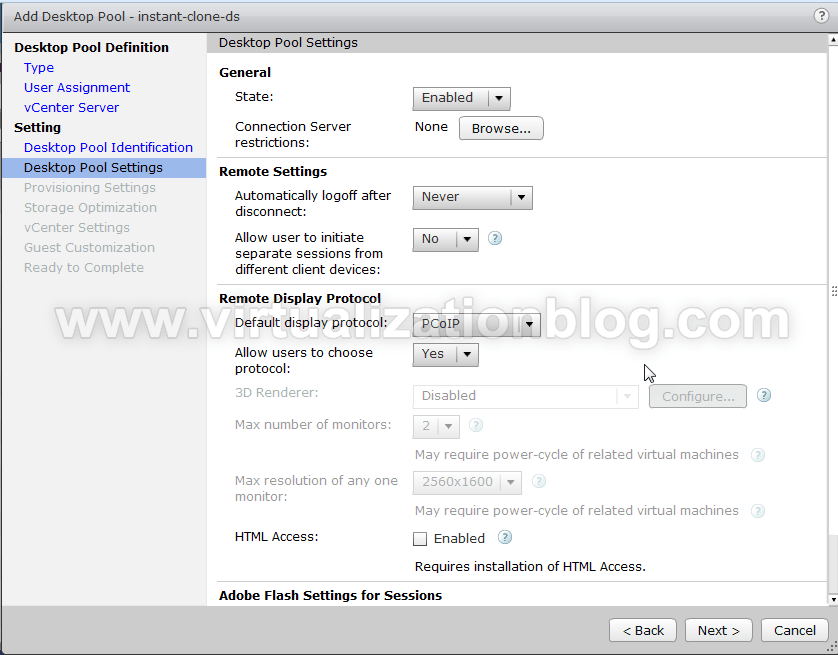
Configure the provisioning settings for new virtual desktops like Naming Pattern, Size of Desktop Pool & Provisioning Timings. Click Next.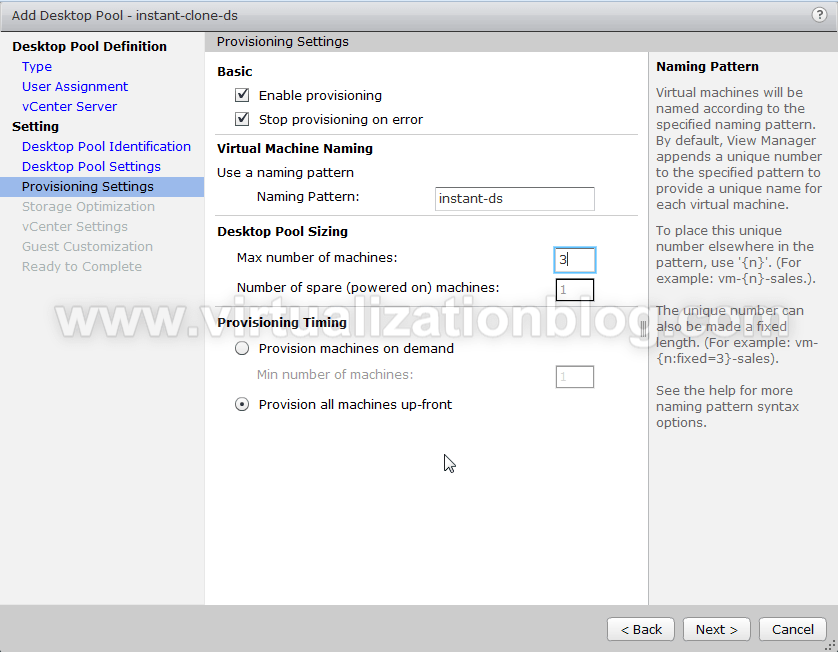
Choose if you want to store new Virtual Desktop’s on Virtual SAN datastore or not. Click Next to proceed.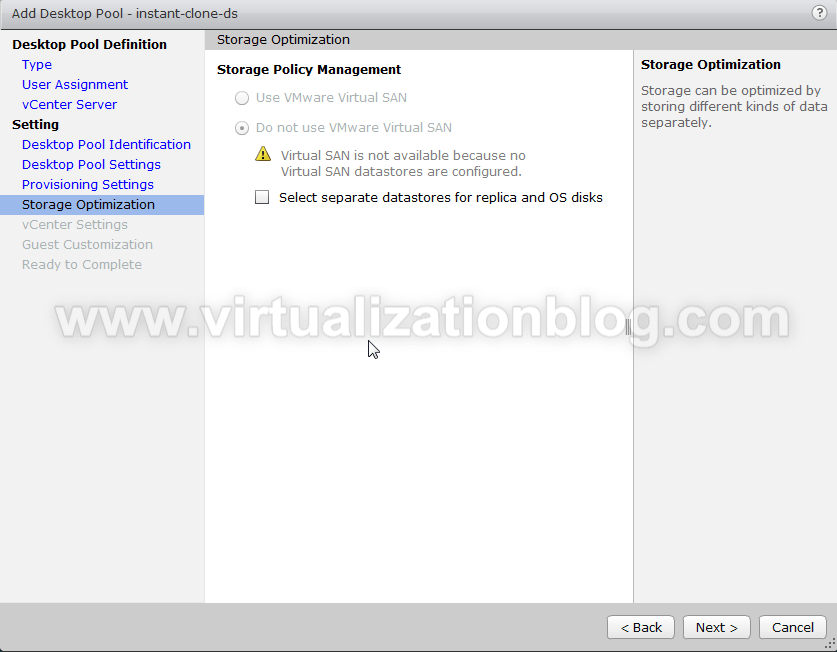
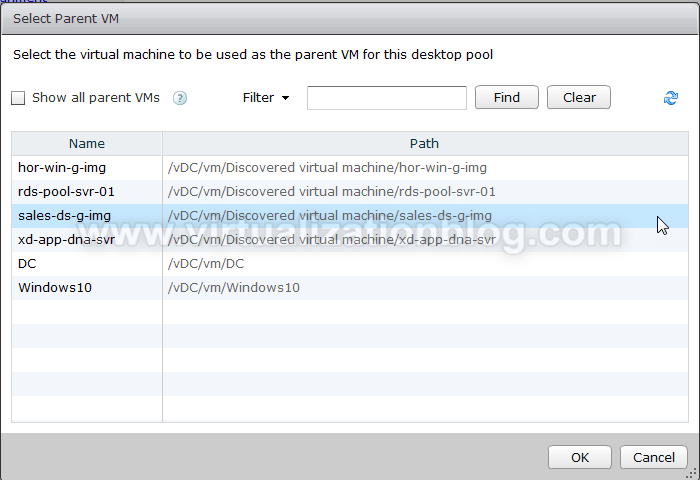
Click on Browse and choose the Parent VM.
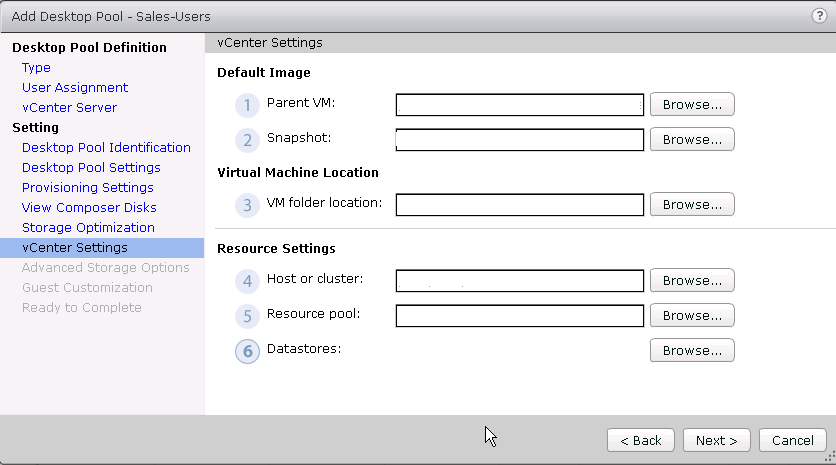
Choose the Snapshot of the Parent VM.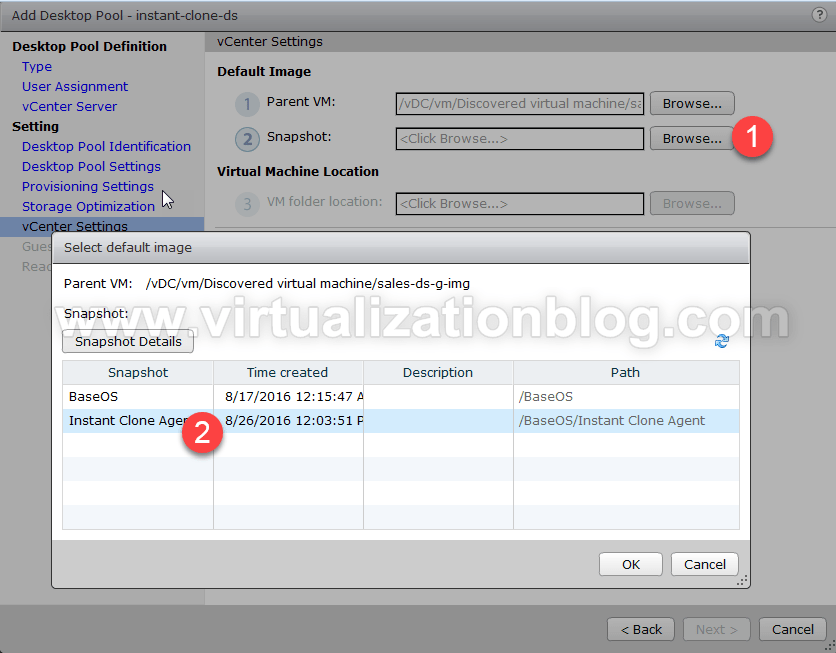
Choose the VM folder location.
You cannot choose individual host while deploying Instant Cloned Virtual Desktops. Choose the cluster and select OK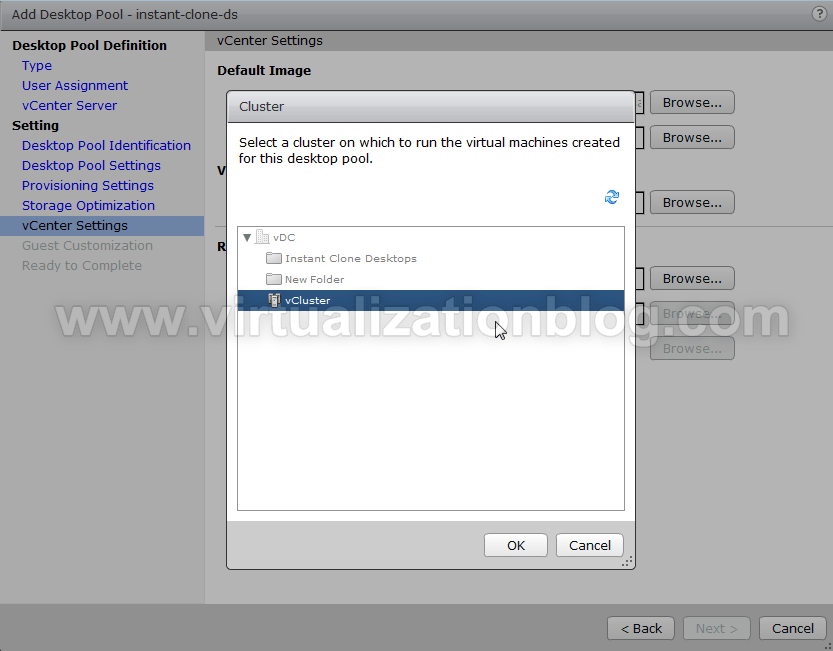
Choose Resource Pool and the Datastore to host Instant Cloned Virtual Desktops.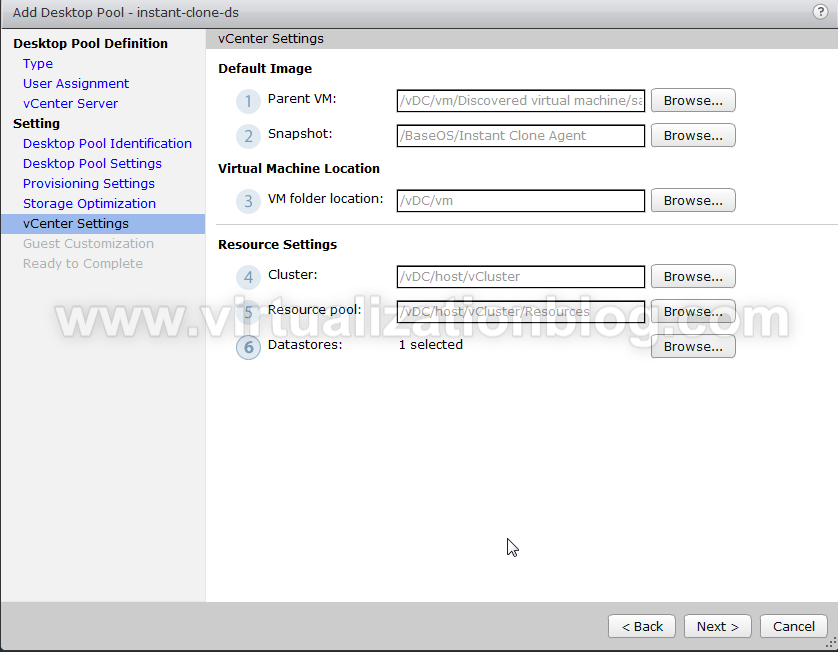
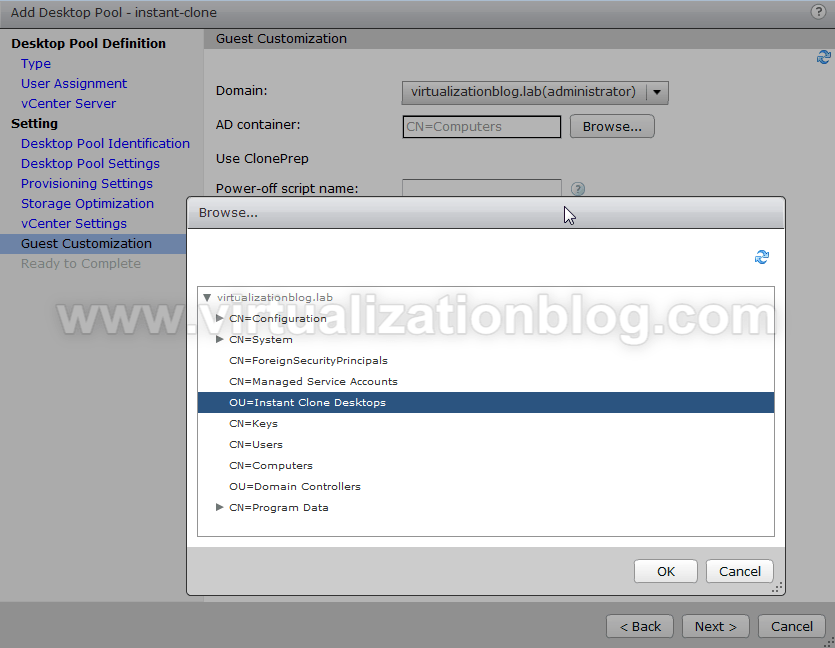
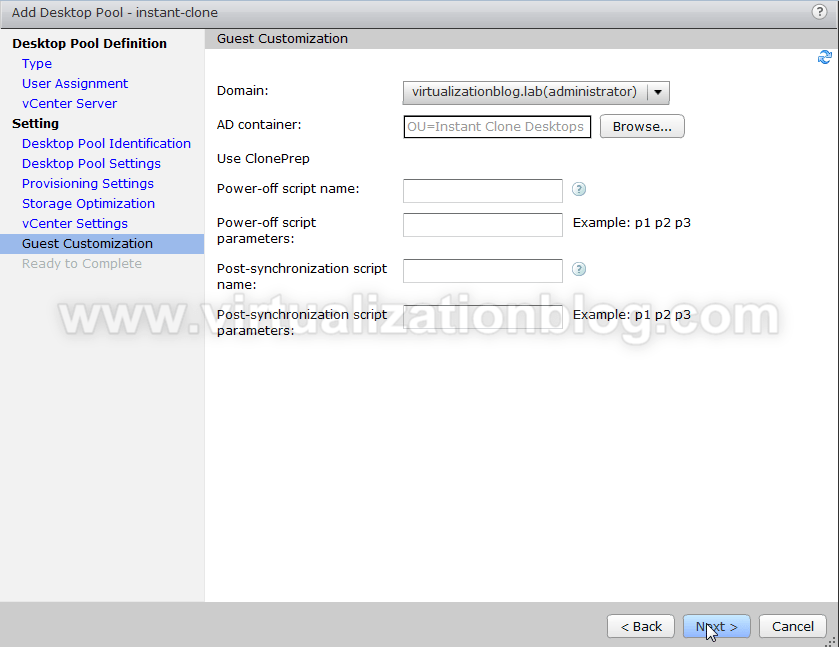
Choose the Domain name and AD Container.
Review the settings and Click Finish to deploy Instant Cloned Desktops.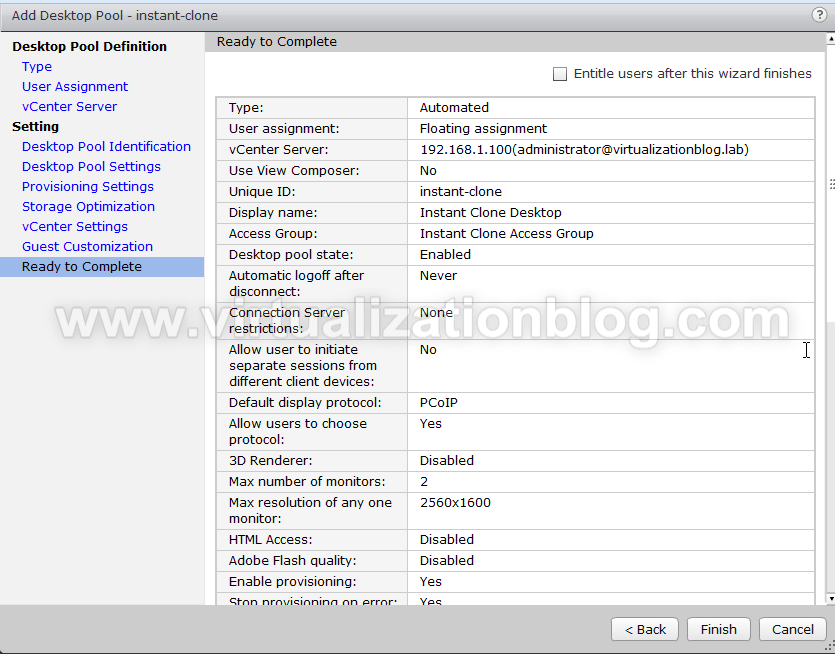
Once successfully deployed, desktops can be entitled to the users for use.
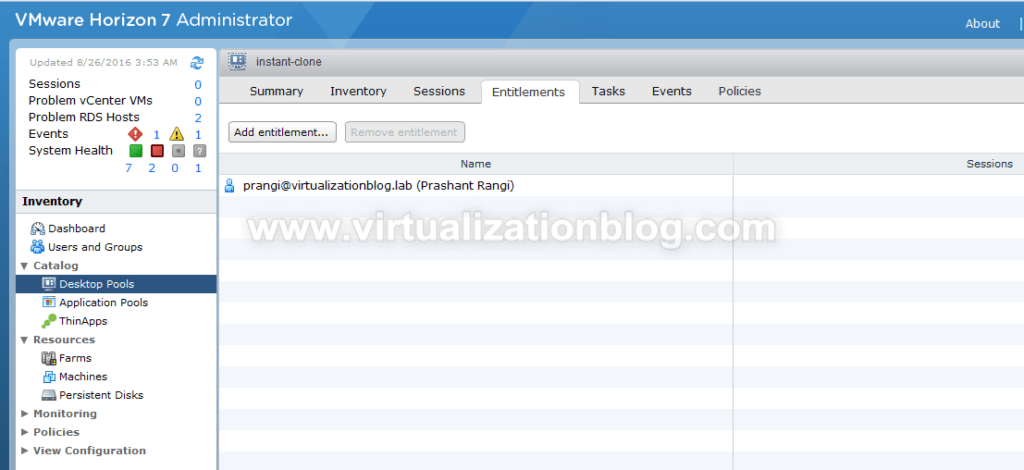
Post entitlement users can access entitled virtual desktops using Horizon Client.
 I hope this would have been informative for you. Thanks for visiting. Do share this in social media if you find it worth sharing. Happy Learning :-).