Introduction
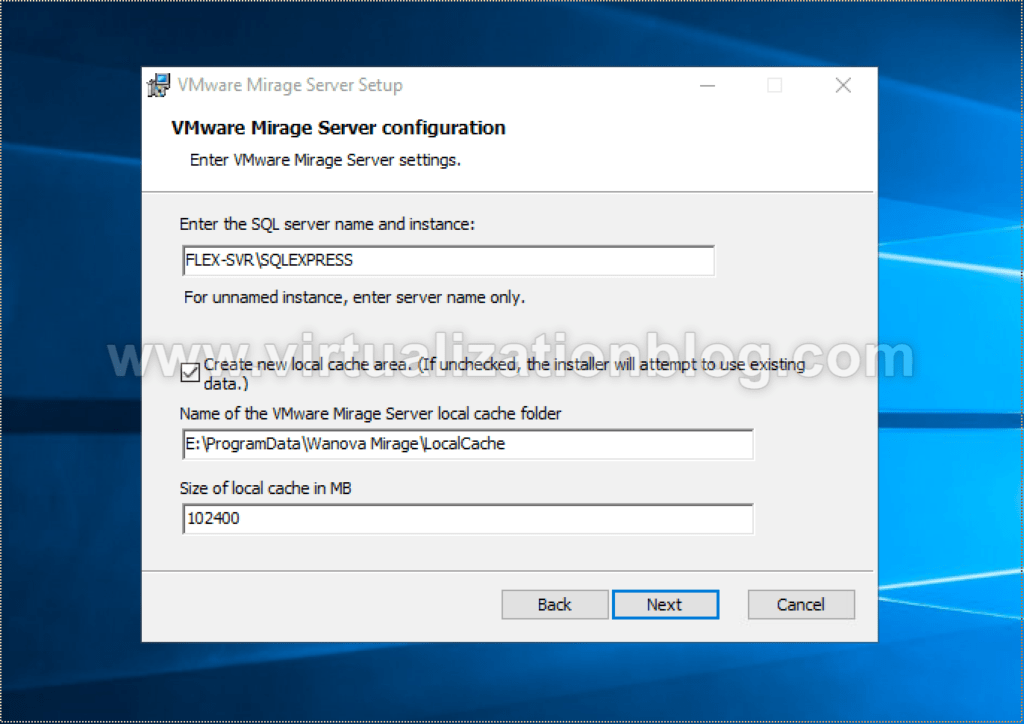
The VMware Mirage server manages the storage and delivery of base and app layers and CVDs (Centralized Virtual Disks) to clients and consolidates monitoring and management communications. You can have multiple servers deployed as a VMware Mirage server cluster to manage endpoints devices for a large organization. VMware Mirage uses local cache a storage of popular data blocks to perform data deduplication over the WAN. It is recommended to keep the cache on fast storages like SSD.
PreWork
- Microsoft .NET 3.5 already installed before Horizon Mirage server installation
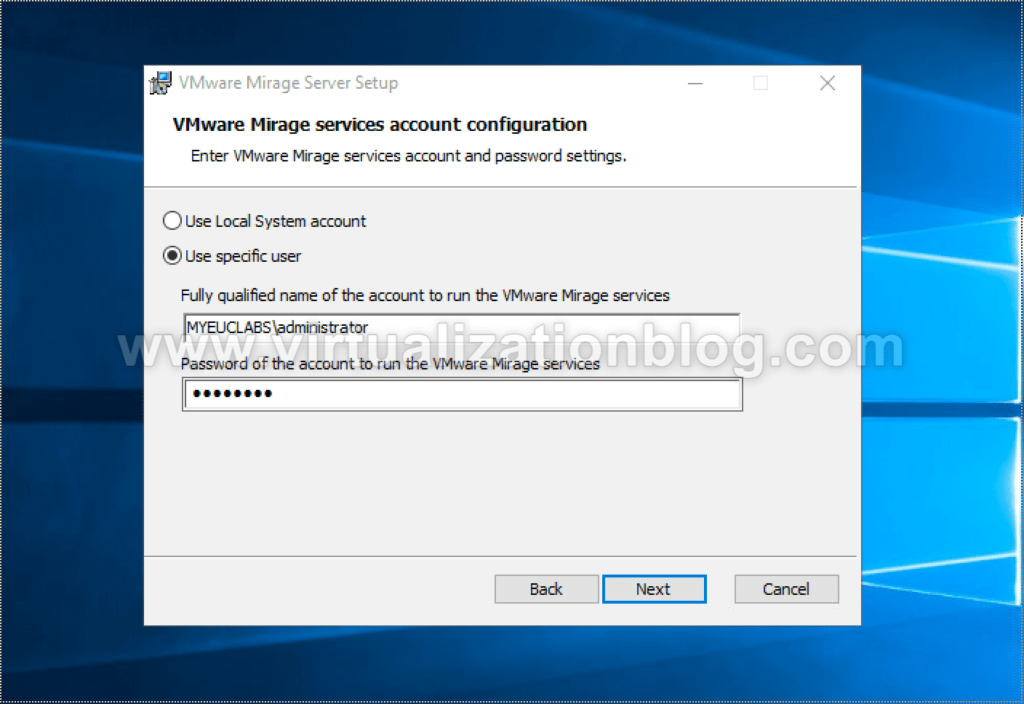
- Server should have domain membership
- Generated and installed Microsoft Enterprise CA-signed SSL certificate
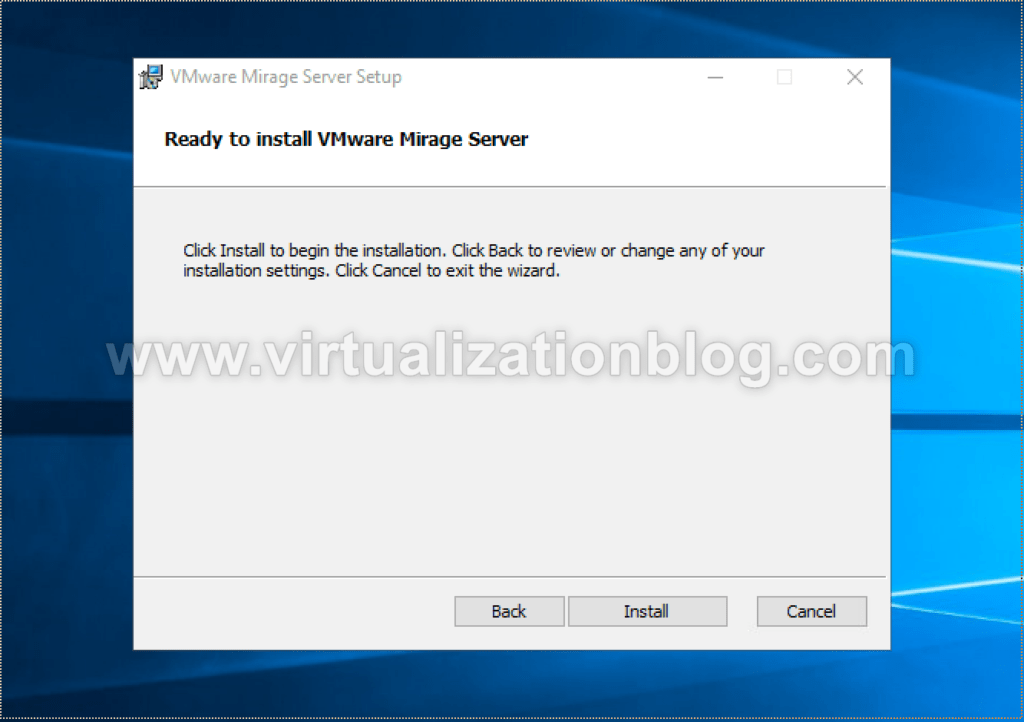
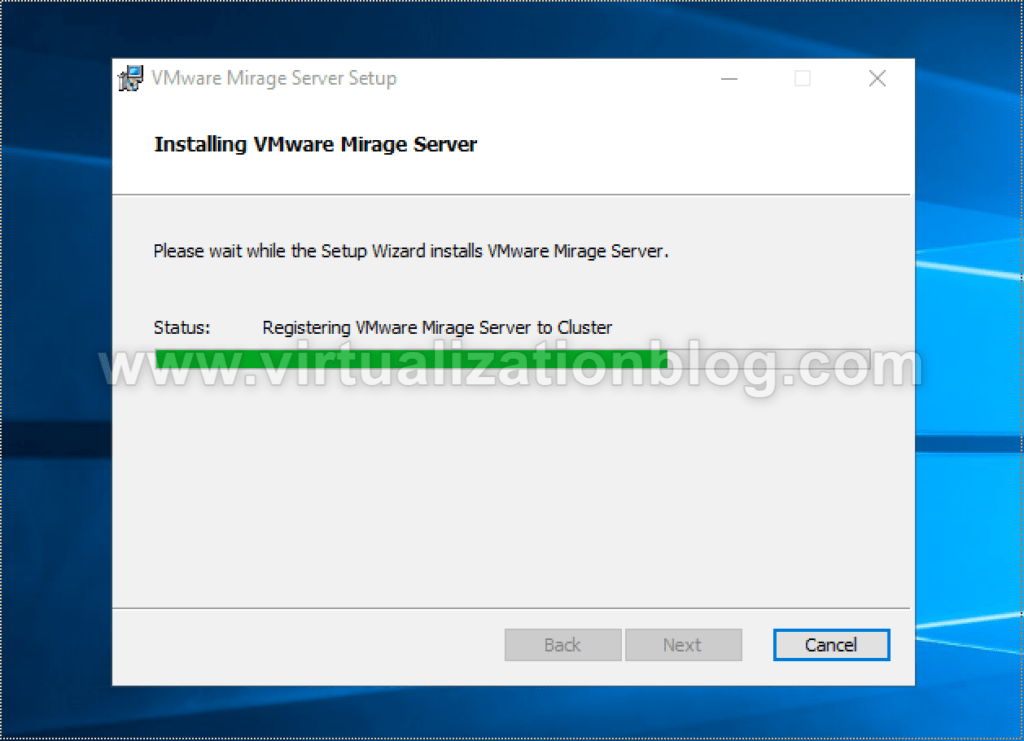
Installation
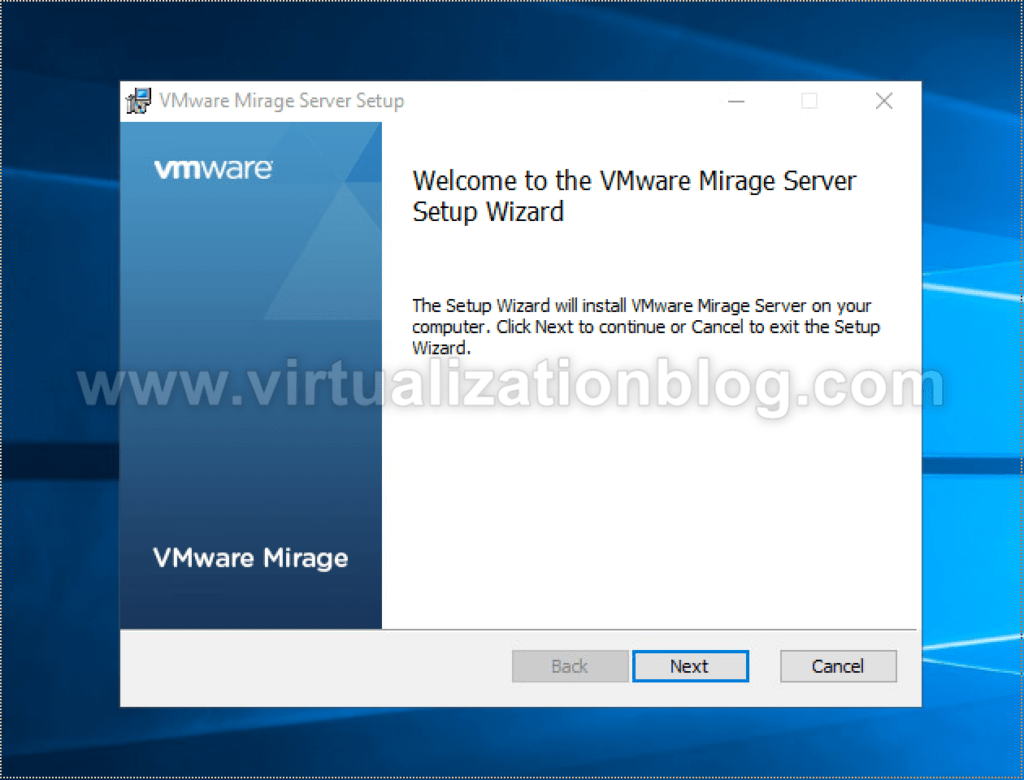
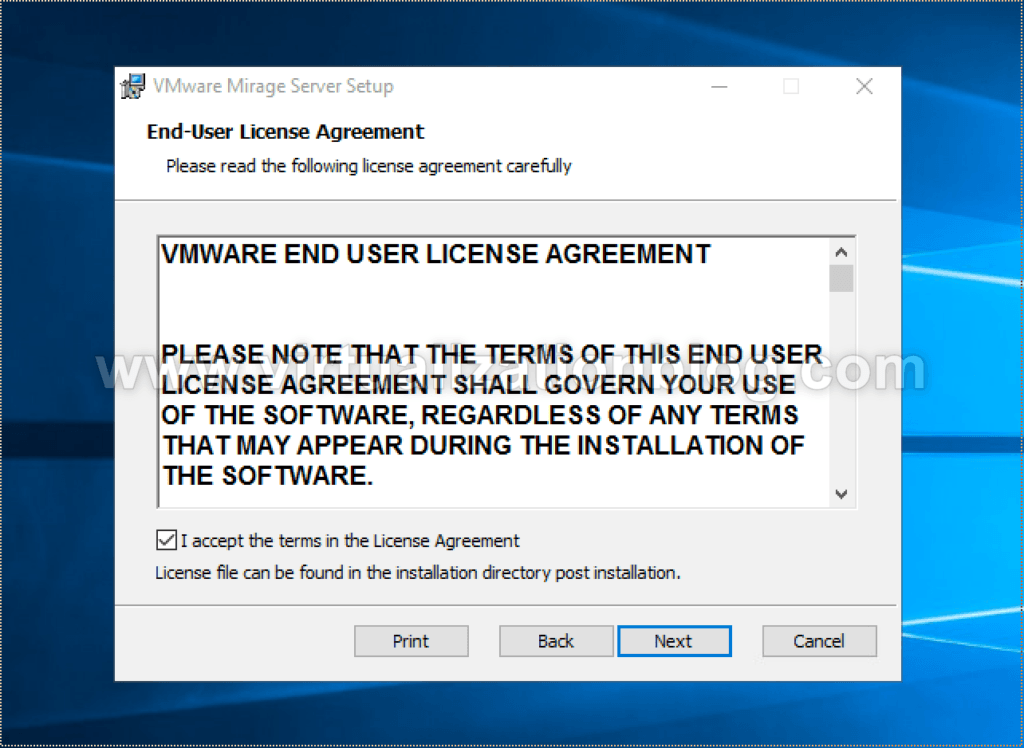
As we are deploying VMware Mirage server first time choose “Create new local cache”. if are reinstalling or want to use the existing local cache don’t check this box.
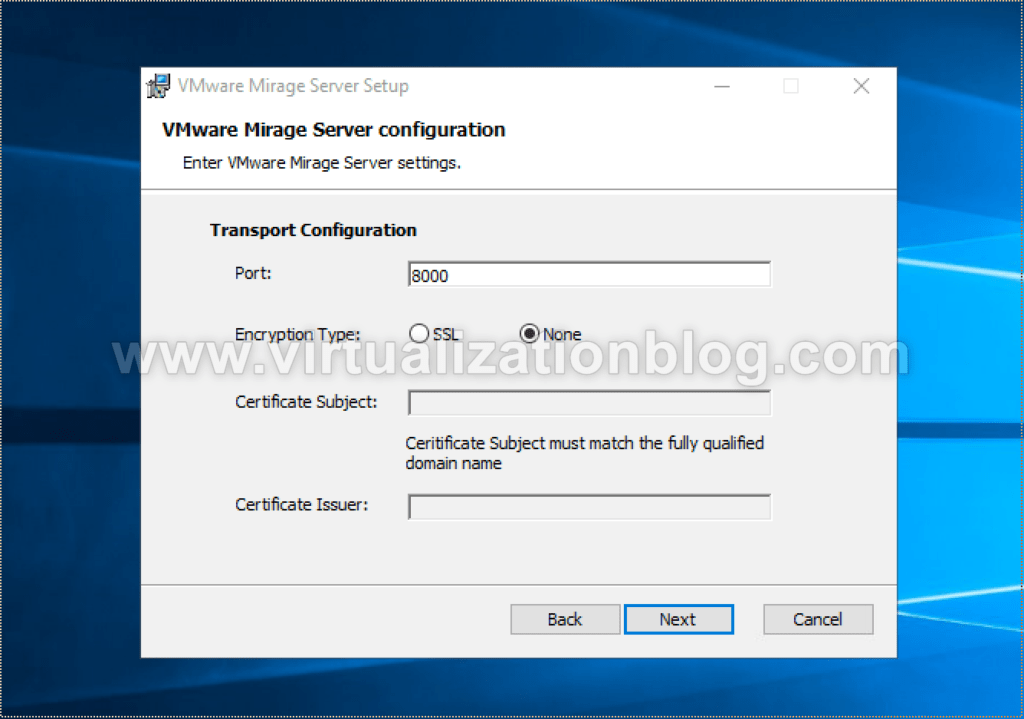
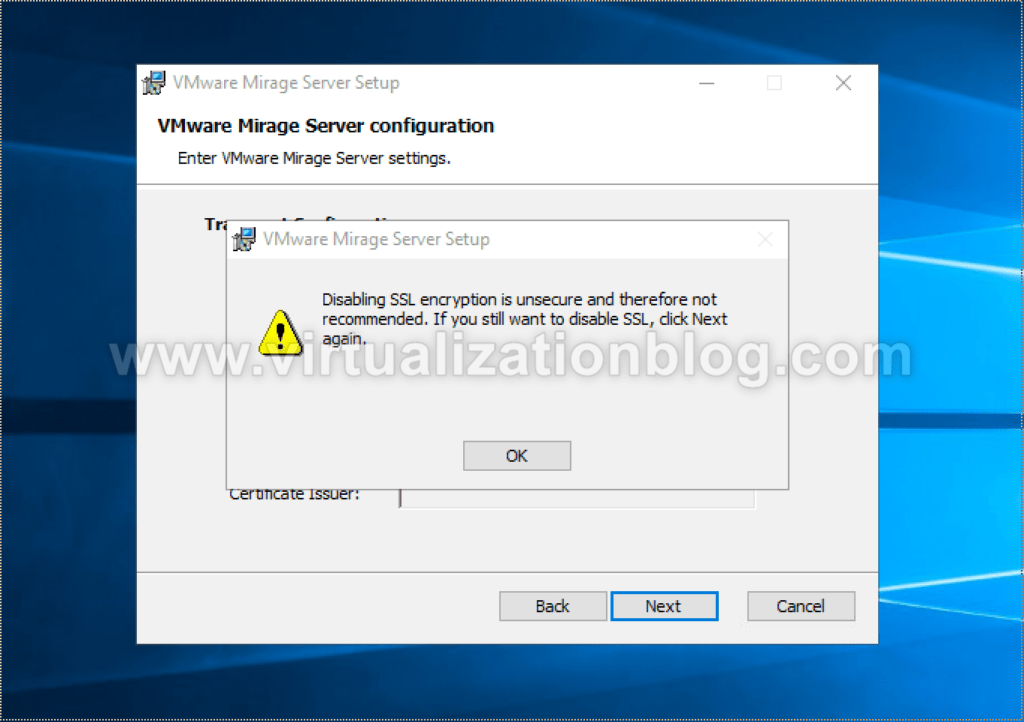
In Lab / POC, we can disable SSL for an unsecured communication. Disabling SSL encryption is not recommended as this mode of connection is not secure. The subject of the certificate MUST MATCH FQDN OF THE SERVER.
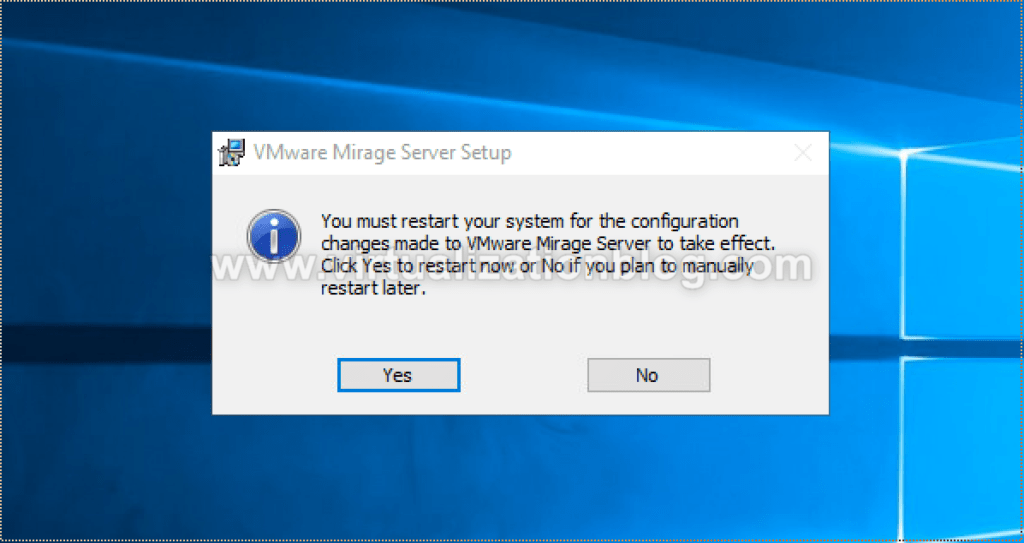
Restart the server post successful installation of VMware Mirage Server.
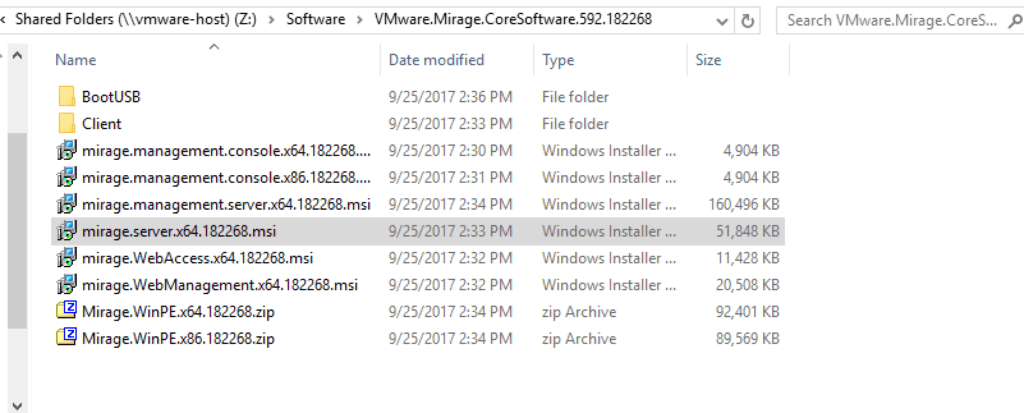
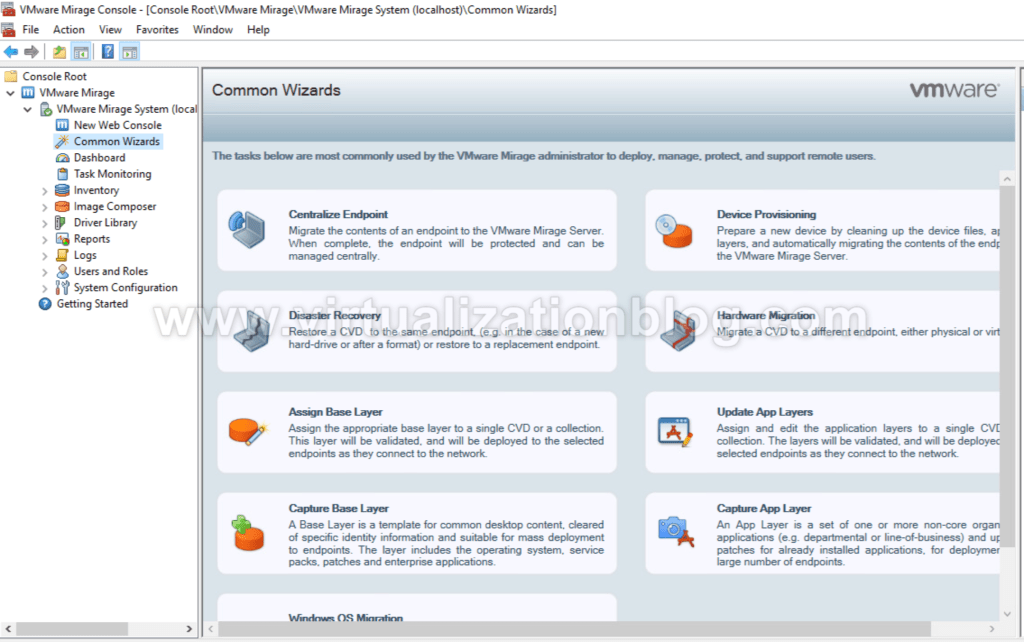
Next step is to install VMware Mirage Console to access VMware Mirage Server. Navigate to the installable location folder and execute mirage.management.console.<buildnumber>.msi installer.

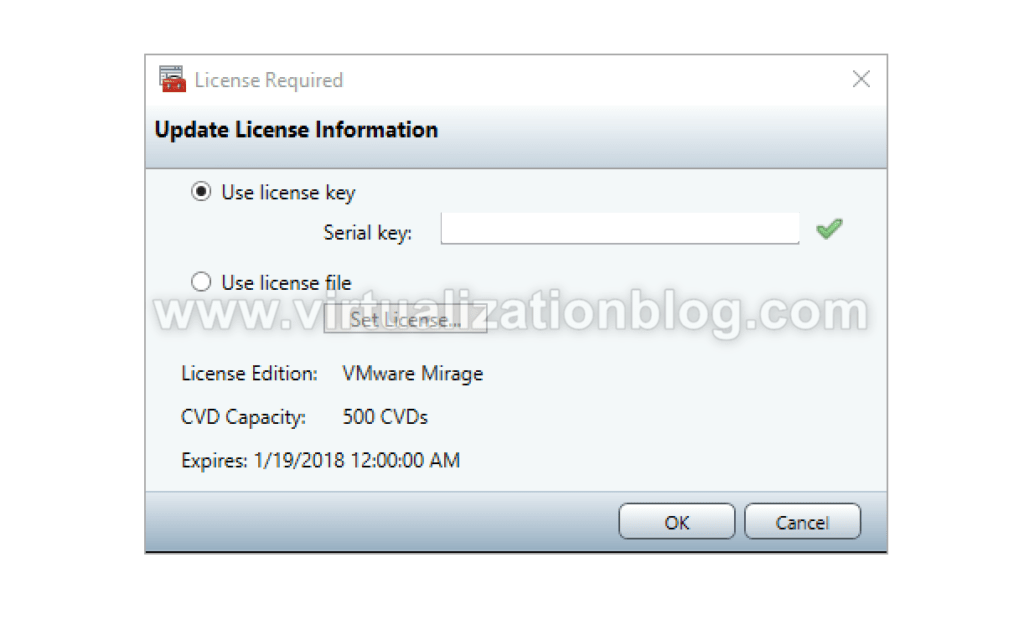
Launch VMware Mirage Console from the desktop shortcut. It will prompt you to enter the license key. Enter the valid license key.
Summary
The concludes the Installation of VMware Mirage Server and Mirage management console. In next blog to this series, I will be covering the process to centralized Virtual Disk of the endpoint. I hope this will be informative for you. Thanks for Reading!!. Be social and share if you find worth sharing it.